Users can customize the login page by adding a logo of their choice as well as background image.
![]() To access the Centric 8 login page
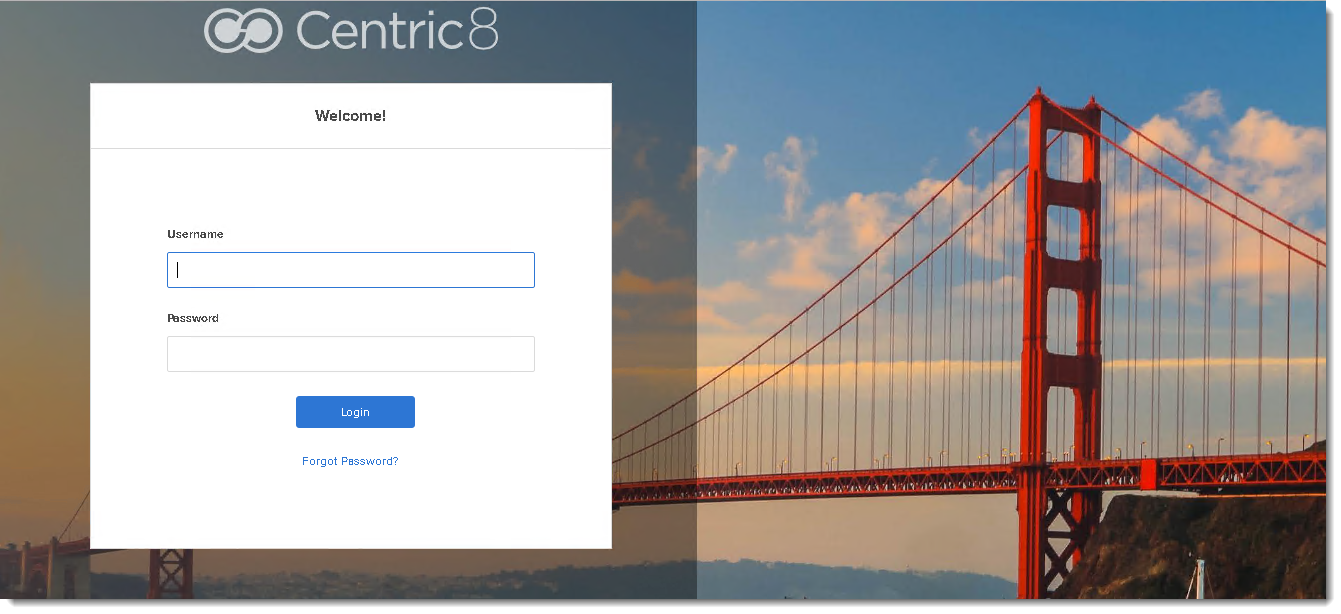
To access the Centric 8 login page
Enter The URL details in the browser window.
Enter the User credentials in the Name and Password text box.
To login to the application, click on the Login button.

Since Centric 8 is customizable, your tab and library names, as well as the order in which they appear in the UI, may differ from those used in this Help system. Contact your Site Administrator for customization details.
![]() To replace Company Logo on the Login page
To replace Company Logo on the Login page
Navigate to Setup > Company > Company Defaults tab.
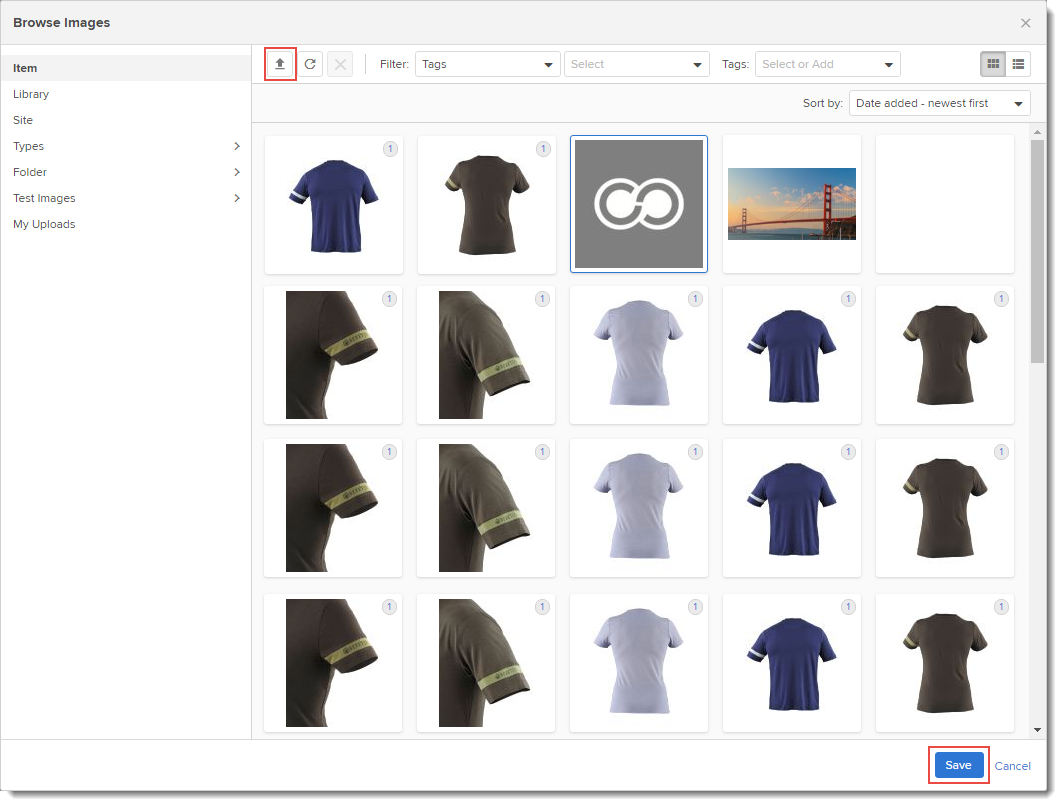
On the Company Logo table Toolbar, click on Browse Images icon.
Browse Images dialog is displayed. Select the required logo from the library or upload the logo from the network folder using the Upload button at the top of the dialog and click on Save.
Selected logo will be displayed in the Company Defaults tab.
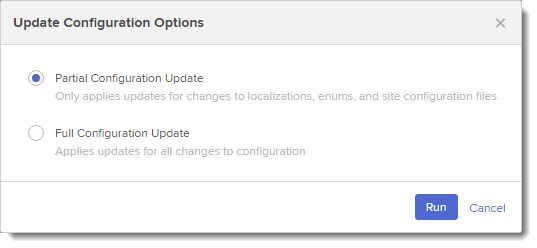
To run the Update Configuration, select Actions > Update Configuration. The Update Configuration Options dialog box is displayed.
Select an appropriate Configuration Update type in the Update Configuration Options dialog box and click on Run.
The Centric 8 application changes are updated and the selected logo is displayed in the Login screen.
![]() To customize Company Icon in the application
header
To customize Company Icon in the application
header
Navigate to Setup > Company > Company Defaults tab.
On the Company Icon table Toolbar, click on Browse Images icon.
Browse Images dialog is displayed. Select the required Company Icon from the library or upload the icon from the network folder using the Upload button at the top of the dialog and click on Save.
Selected icon will be displayed in the Company Defaults tab.
Run the Update Configuration. The Update Configuration Options dialog box is displayed.
Select an appropriate Configuration Update type in the Update Configuration Options dialog box and click on Run.
The Centric 8 application changes are updated and the selected Company Icon is displayed in the Home page.
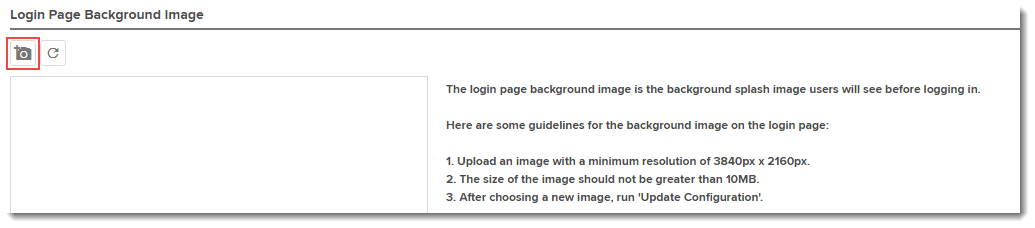
![]() To customize Login page background image
To customize Login page background image
Navigate to Setup > Company > Company Defaults tab.
On the Login Page Background Image table Toolbar, click on Browse Images icon. Select the required Image for the login page and click on Save.
Browse Images dialog is displayed. Select the required logo from the library or upload the logo from the network folder using the Upload button at the top of the dialog and click on Save.
Selected login page image will be displayed in the Login Page tab.
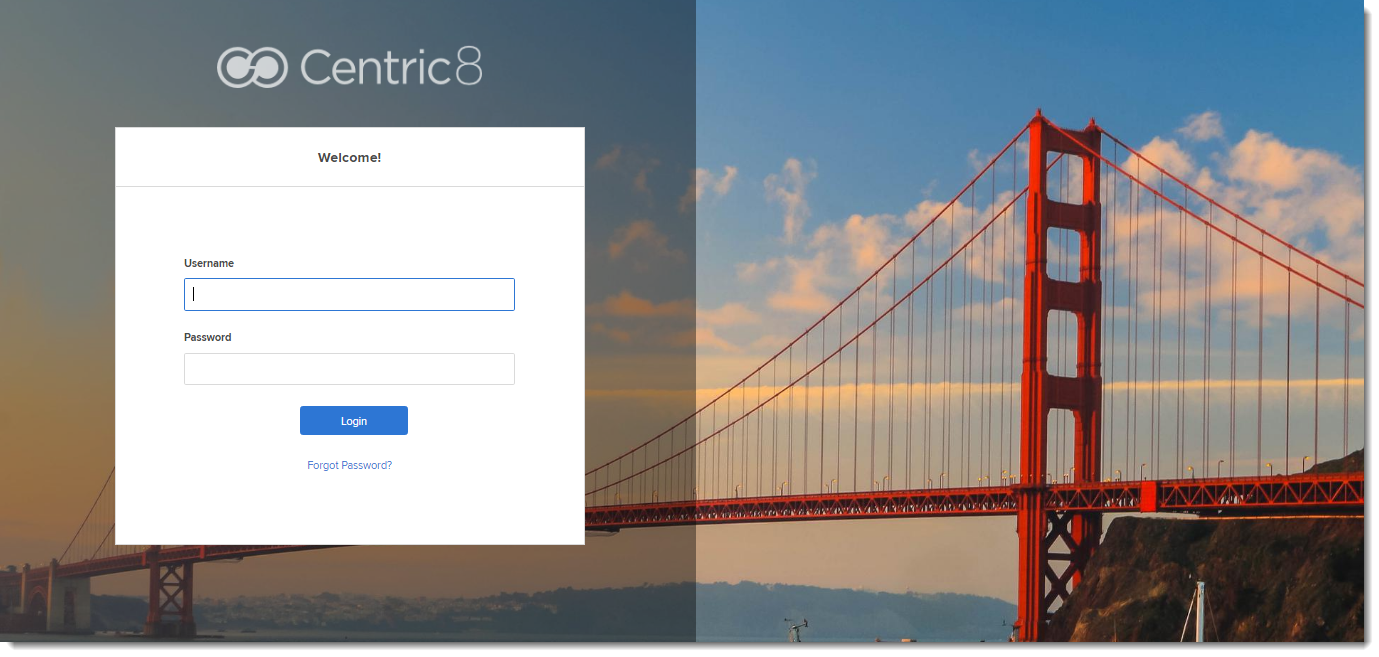
To run the Update Configuration, select Actions > Update Configuration. The Update Configuration Options dialog box is displayed.
Select an appropriate Configuration Update type in the Update Configuration Options dialog box and click on Run.
The Centric 8 application changes are updated and the selected image is displayed in the Login screen.
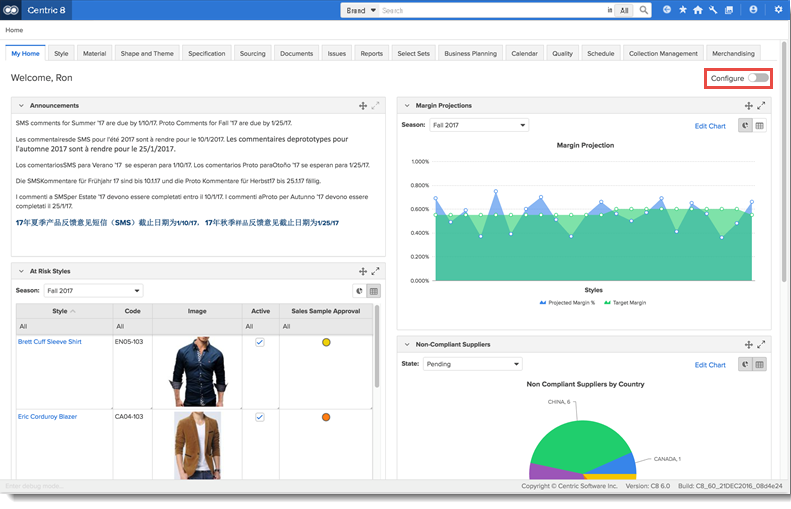
On login, the following Home Page will be displayed. The site level tab details may change depending on the access rights assigned to the user. Initially, there will no details in the Favorites, Last Visited and other sections. However, on setting up the Favorites and the Last Visited sections, you can view the details on the Home Page. See topic Home Page - Dashboard Features, for more details on how to configure the dashboard on the Home Page.